In this blog post, I will show you how to make 6 reusable shopping totes from a $6.99 cotton canvas dropcloth. This is a great project for beginners and can be completed in just a few hours. The finished dimensions of the tote is 16″ wide x 29″.
I made a short video about my recent finds at Harbor Freight. Check it out. https://youtu.be/mhUclqyZ3RE
This is not a precise project! That is why I love it and it is beginner friendly. If you don’t want to use a dropcloth, you will use the mostly the same method with slightly different dimension depending on the width of your chosen fabric. I made the bottom of the bag wide enough for.a box of cereal, but you can make it more narrow.
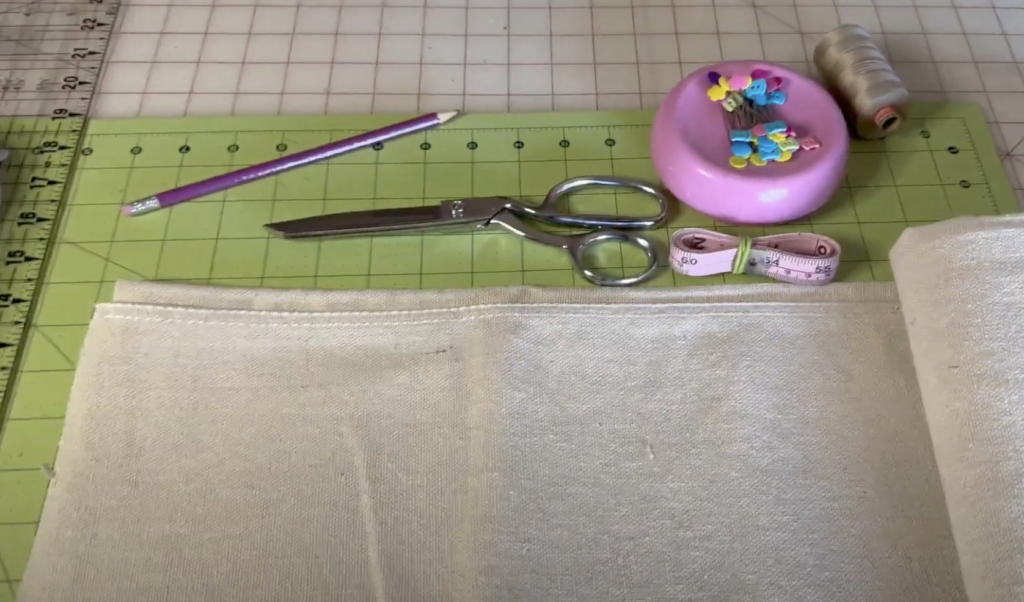
Materials
- 1 x 4′ x 12′ cotton canvas dropcloth ($6.99)
- Sewing machine and thread
- Scissors
- Iron
- Measuring tape
- Pencil
Steps
- Cut fabric into 24″ panels (width depends on if you use dropcloth or other fabric)
- Sub-cut (2) 3″ x 24″ handles
- Make handles
- Prepare upper edges
- Attach handles
- Sew Side Seams
- Box bottom
1. Fold the drop cloth in half lengthwise and then in half again so that you have 4 layers. Wrap the length of the dropcloth around cardboard or roll it to make it easier to work with.
If you are not using a dropcloth, skip this step.
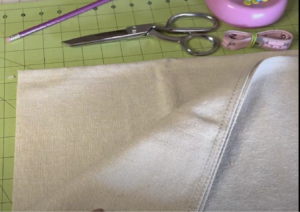
Unroll enough of the dropcloth to cut off 24″. This makes a panel that is 48″ wide by 24″ long.
Remove the rolled finished hemmed edges.
Note: For the first and last cut of the dropcloth you will cut off rolled finished edges on 3 sided. Making 47″ wide by 23″ long. For the 2nd thru 5th cuts, you will cut off 2 edges. Making the panels 47″ wide by 24″ long.
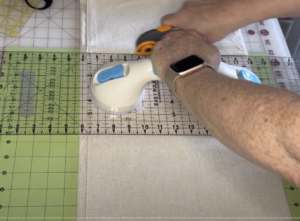
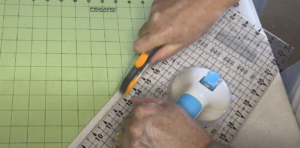
2. Sub-cut two 3″ strips off the length of the rectangle or the handles.
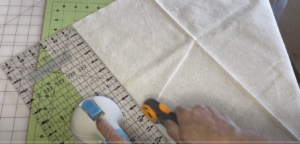
3. Prepare upper edge by folding over 1″ and fold over again”.
Mark handle placement by finding the center of the main panel upper edge and mark 4″ on either side of the center mark.
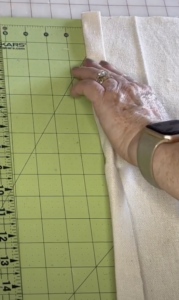
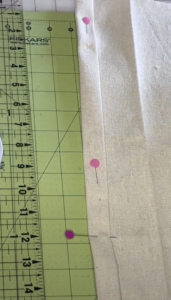
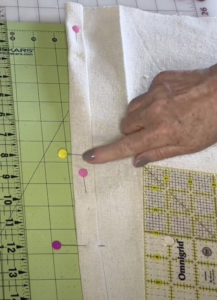
4. Make handles by folding in half lengthwise and then folding the raw edge to the center crease and then in half. This is where the iron comes in handy!
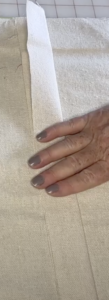
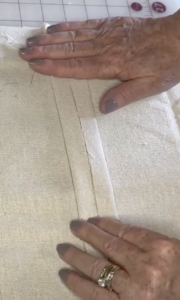
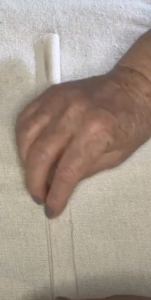
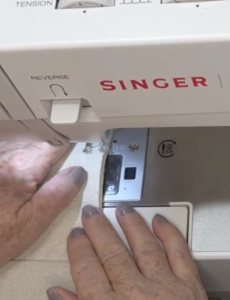
Sew with #3 stitch length 1/8th of the edge down both long edges of the handles. I like to start on the folded edge first and then the double folded edge for less puckering.
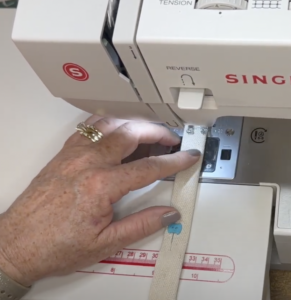
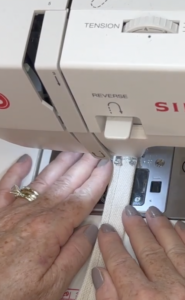
5. Attach handles at the marking we made at 4″ from the center of the upper edge by inserting the raw edge under the folded top edge.
Stitch the upper edge in place with the handles attached at 7/8″ seam allowance.
Repeat the other side.
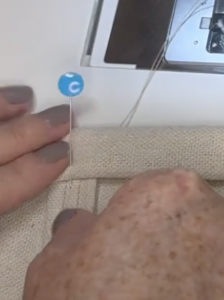
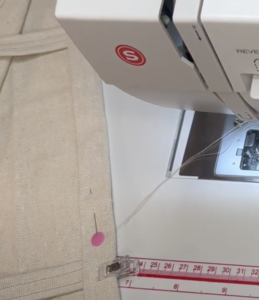
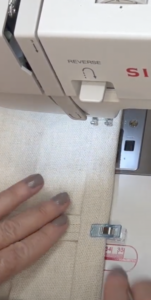
Now flip the handle right side up and stitch the upper edge in place over the handles at 1/8″ seam allowance.
Repeat the other side.
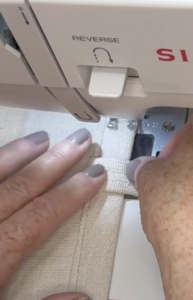
Sew side seams by folding WRONG SIDES TOGETHER. and sewing scant 1/4″ seam allowance. Start at the top of the bag and sew toward the bottom so that the upper edges always are even.
Repeat on other side.
Pressing is IMPORTANT her to reduce bulk and make a smooth even seam allowance.
Now fold RIGHT SIDES TOGETHER to encase the raw edges and sew at 3/8″ seam allowance creating a finished edge that won’t fray. This is called a “French Seam”.
Repeat on the other side.
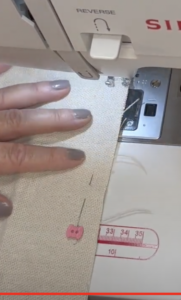
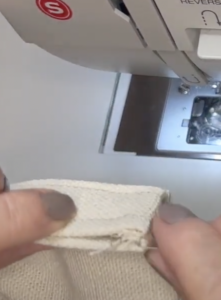
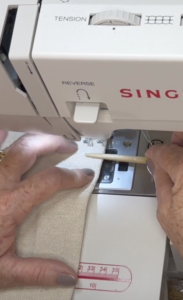
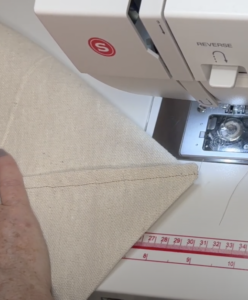
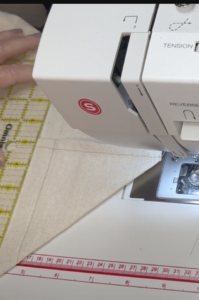
Box the bottom by turning the bag WRONG SIDES TOGETHER and pinching the bottom corners of the bag match the bottom center crease with the side seams. Press flat, arrange the seams so that one points to the right and the other to the left. Using a ruler, draw a line across the bottom point where it measure 9″. Sew along the line on both sides.
Trim to 1/4, turn RIGHT SIDES TOGETHER and sew a 3/8″ seam allowance.
Note: I used a wide bottom to hold a cereal box, but you could do a more narrow bottom yelding a taller bag.
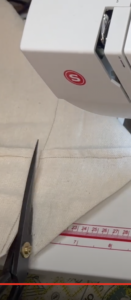
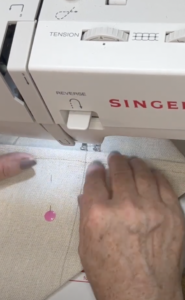
Trim to 1/4, turn RIGHT SIDES TOGETHER and sew a 3/8″ seam allowance.
Note: I used a wide bottom to hold a cereal box, but you could do a more narrow bottom yelding a taller bag.


Tips
- You can add a fun design to your bags by using fabric paint or markers. I used my Cricut Maker to add a little flair.

Conclusion
Making your own reusable shopping bags is a great way to save money and reduce your environmental impact. With a little bit of time and effort, you can make beautiful and durable bags that will last for years to come.
